
VR Application Development: From Idea to Launch – The 7-Step Process
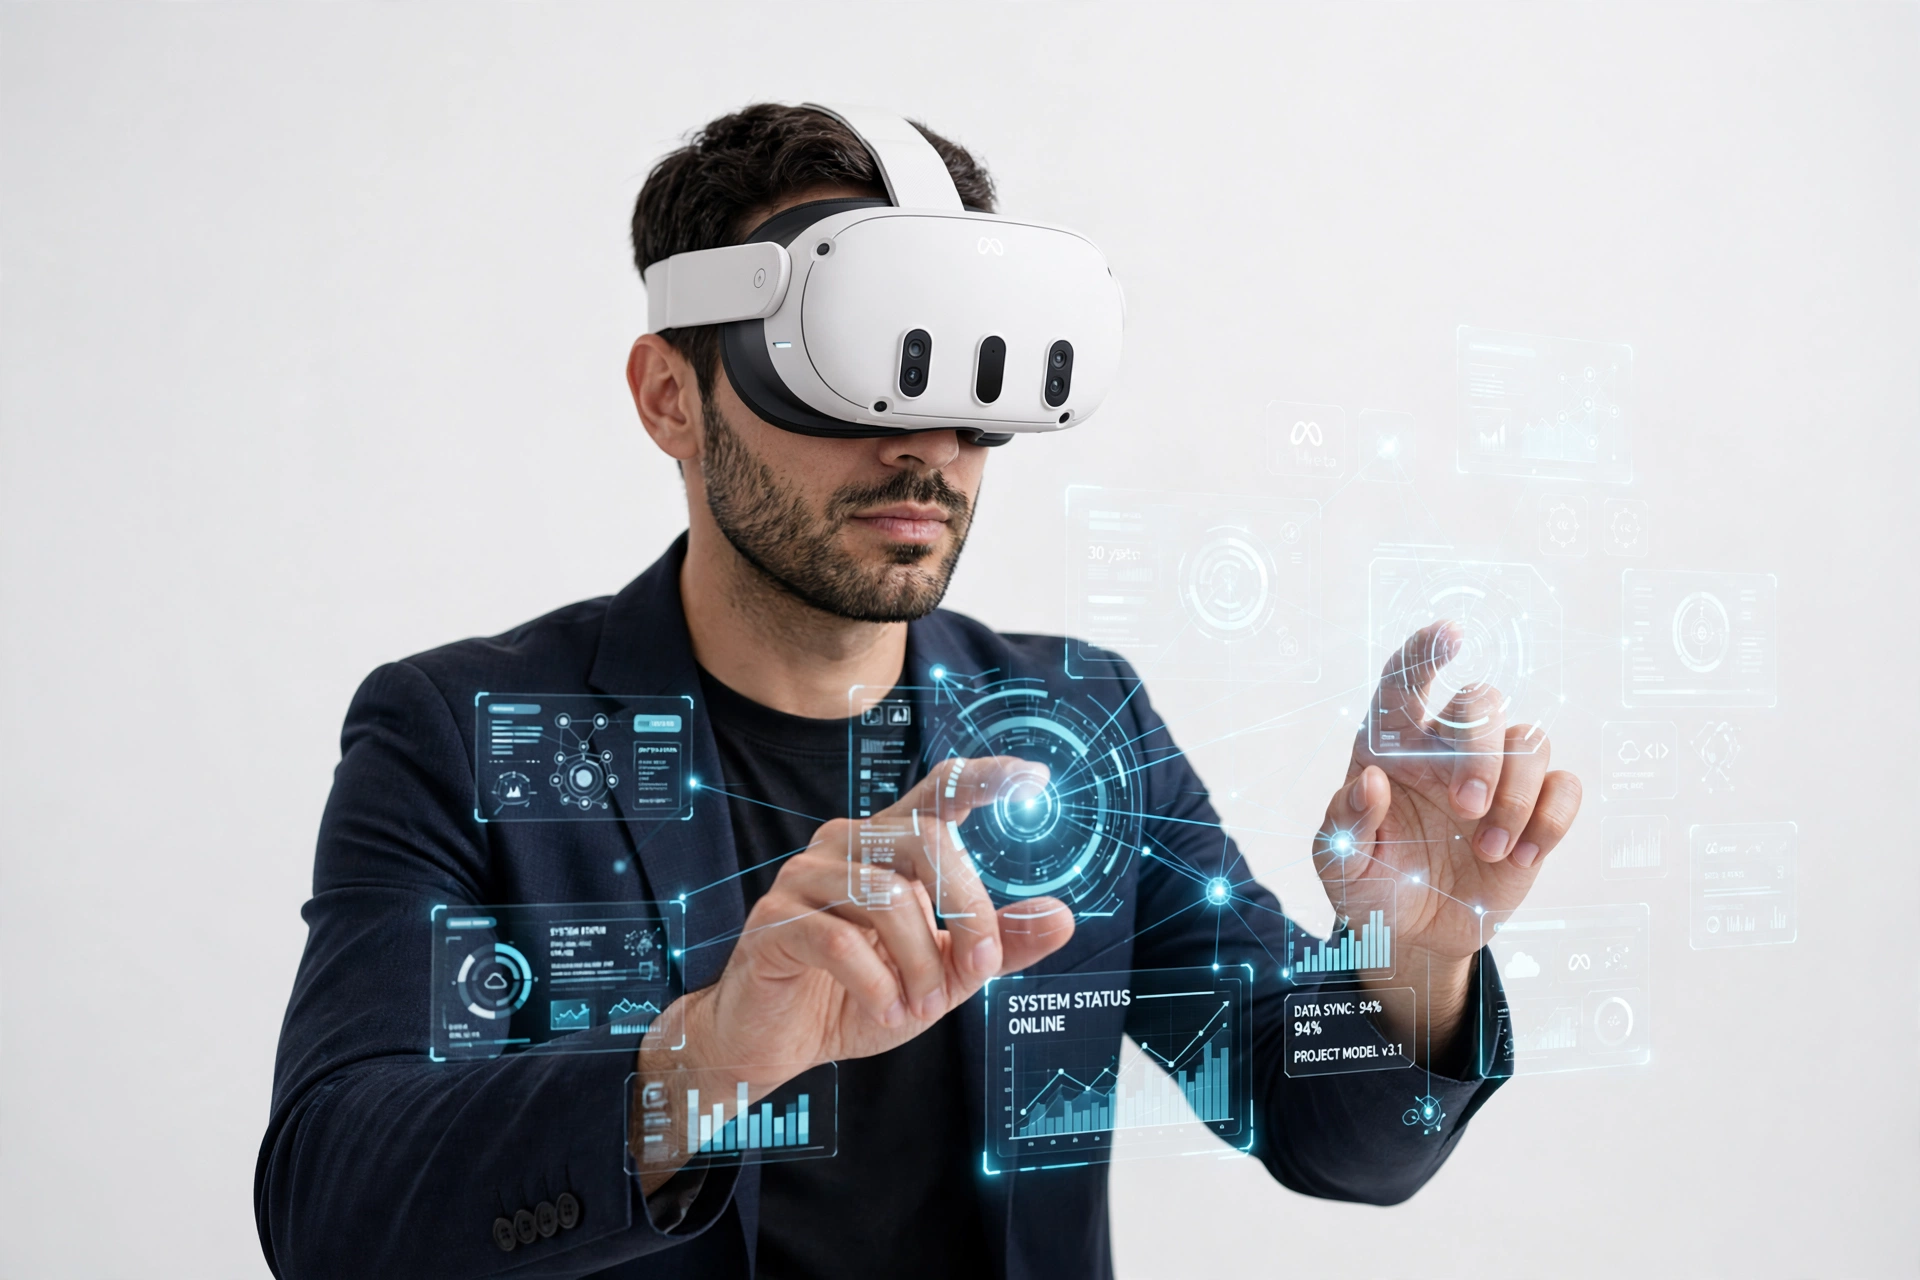
Creating a VR application usually starts with an idea that sounds simple: “we want the customer to enter the space”, “we want the technician to practice the procedure” or “we want to present the product without having to transport it”. The difficult — and creative — part is turning that sentence into specific actions, screens, 3D assets and rules that work comfortably inside a headset.

Fourthedesign approaches VR experience development as a combination of software and 3D production. This has practical implications, because the environment, interactions and performance cannot be designed independently. The best 3D scene in the world doesn’t help if the headset can’t keep it smooth, and a fast app isn’t enough if the user doesn’t understand what they are seeing or what they need to do.
Step 1: Define an outcome, not a technology
A good project statement describes what you want to change for the user or the business. For example: “the new technician to practice five critical steps before using the real equipment” or “the prospective buyer to be able to navigate through three apartment types before project completion”. These sentences lead to a clear scope.
In contrast, “we want something impressive with VR” leaves all decisions open. It’s like asking for “a good website” without knowing if it’s an e-shop, portfolio or booking platform. The medium is the same, but the product is completely different.
Step 2: Map the user and the usage context
Who is wearing the headset? Do they have VR experience? Are they standing or sitting? Is there an instructor? Is the app used in an office, training center, exhibition or factory? The answers affect navigation, duration, graphics, sound and device choice. An application for a trade show needs almost zero onboarding. Professional training can handle a more complex flow because the user has time to learn.
Duration is also important. A ten-minute experience for many consecutive visitors needs a quick reset. A forty-minute simulation needs checkpoints, comfortable locomotion and possibly a way for the user to continue after a break. These functional details often determine success more than a spectacular intro.
Step 3: Gather and evaluate the available material
For 3D production there may be CAD files, BIM, product models, architectural drawings, photos or video. For training there may be SOPs, manuals and existing training material. For a cultural application there may be historical sources and documentation. The earlier the material is evaluated, the more reliably time and budget are defined.
If there are no ready-made assets, they are created specifically for the project. 3D visualization and animation production can be a basis for products, buildings and environments, but assets for VR need real-time optimization. It is not a simple copy-paste process from an offline render pipeline.
Step 4: Build a prototype before final production
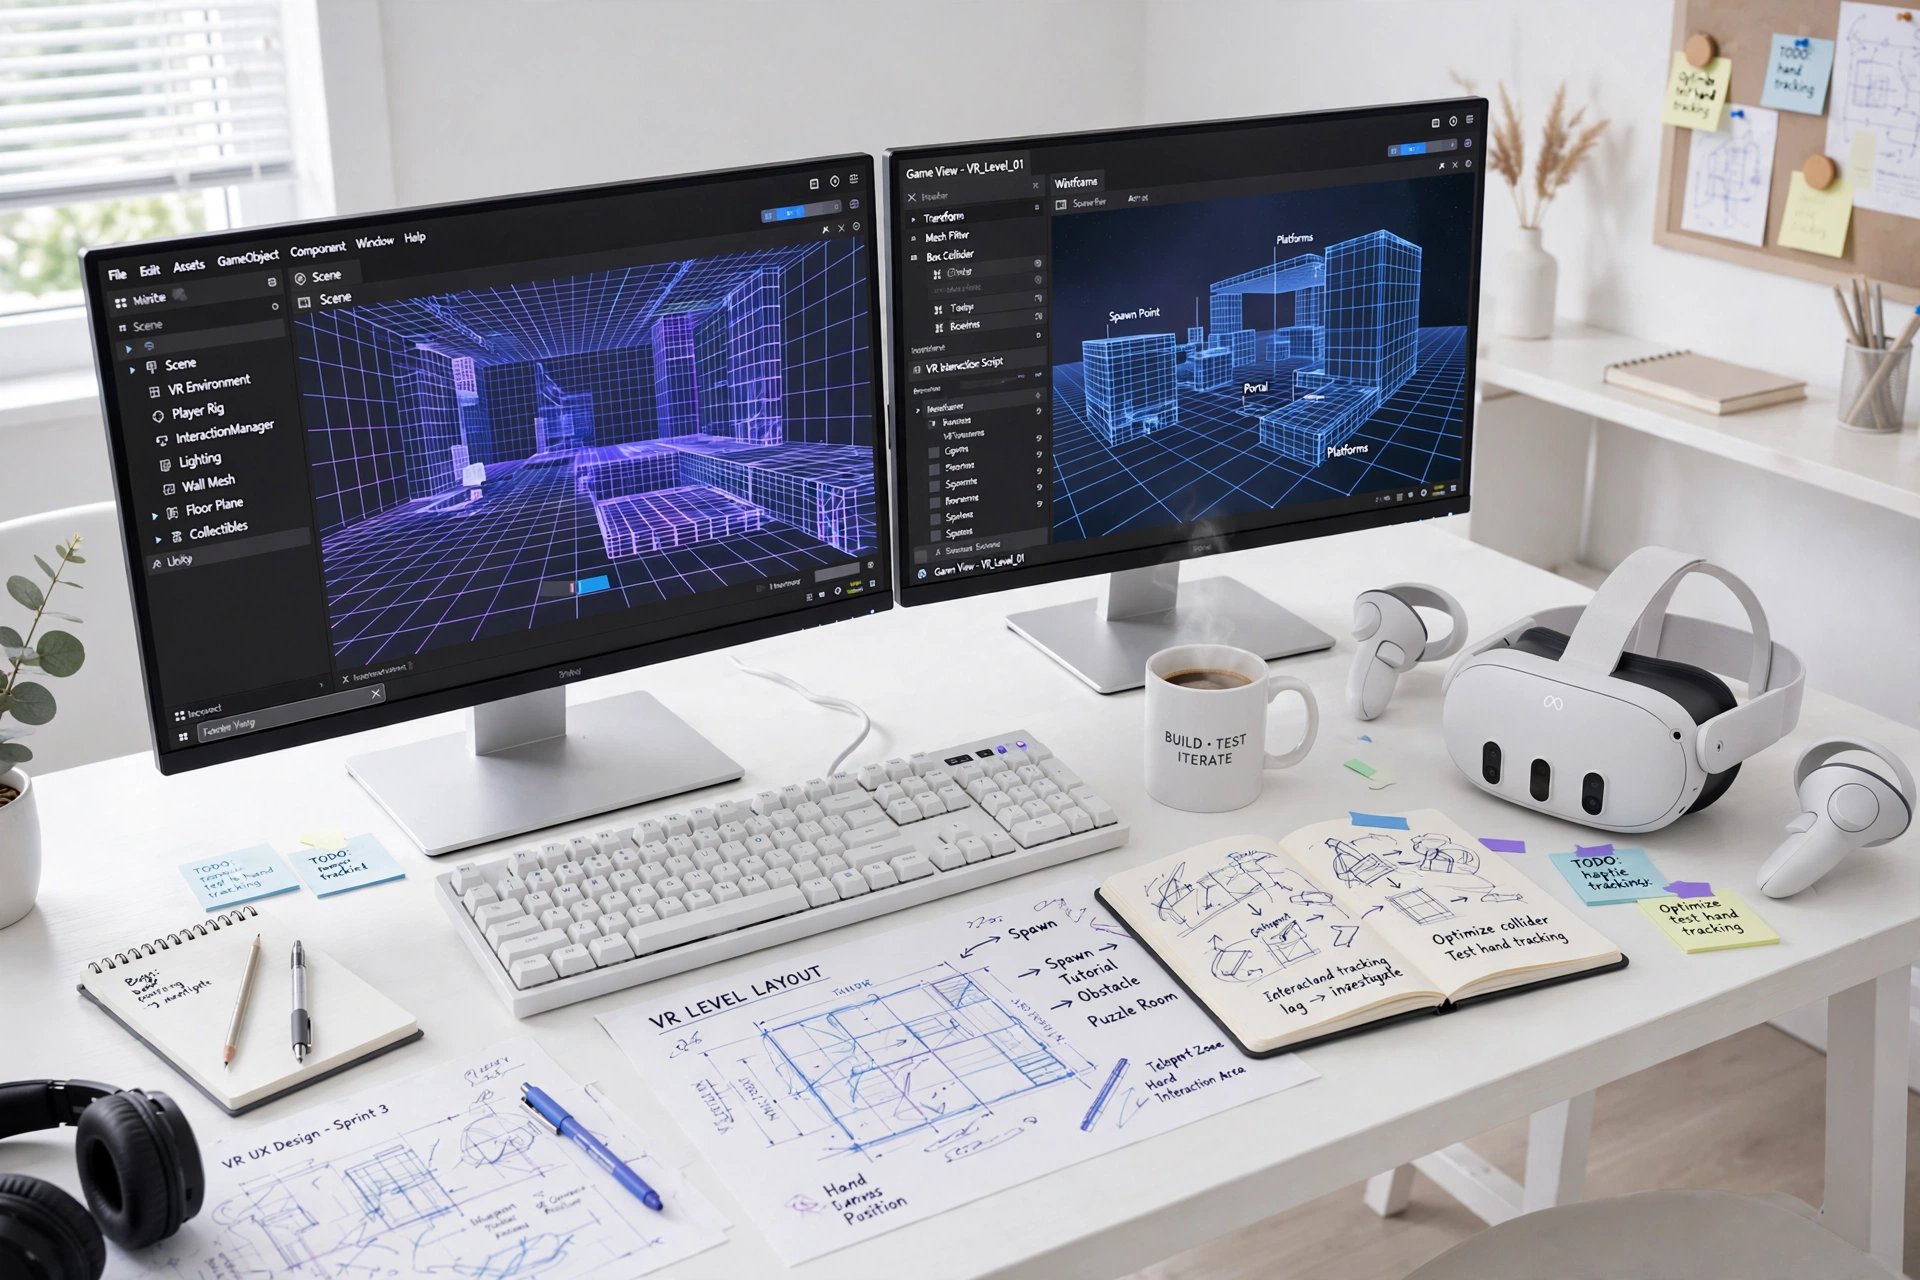
The prototype is perhaps the most useful stage in a VR project. With simple geometric objects, scale, locomotion, sequence of actions and basic interaction can be tested. The user can immediately show that a button is too low, that they don’t understand where to look or that a process has a missing step.
These changes cost little before the 3D models and animations are completed. They cost much more when logic has to be rewritten or dozens of final assets have to be moved. The prototype is the “measure twice, cut once” version for immersive development.
Step 5: Production, interaction and sound
After confirming the flow, the final environment is created and interactions are implemented. The user can grab objects, select options, activate mechanisms or follow guided steps. Animations and visual effects explain situations that are not easy to present with text alone.
Sound is often underestimated. Spatial audio, alarms, machine sounds and voice guidance help the user understand what is happening without constantly looking at labels. In a training scenario, the right sound can be part of the knowledge itself. In a presentation, it creates a sense of space and completes the experience.
Step 6: Testing with people who don’t know the project
The application must be tested by users who were not involved in development. It’s the only way to see if the experience is truly self-explanatory. We observe where they stop, what they ignore, when they ask for help and whether they complete the goal without being “rescued” by the team.
- Technical check on all target devices.
- Comfort test for locomotion, height and session duration.
- Usability test with new users of different experience levels.
- Content validation by subject matter experts where required.
- Deployment, reset and update process check in the real usage environment.
Step 7: Plan the life of the application after launch
A corporate VR app is software and, like any software, may need updates. Headsets, operating systems, processes and content change. It must be known who holds the source assets, how new versions are made, whether there is analytics and how technical support is handled.
For experiences presented to an audience or clients, the VR/AR applications portfolio gives an idea of the range from interactive experiences to custom real-time applications. The most correct technical solution is always the one that serves the real use case and not the one that has the most features on paper.
What determines the budget?
The budget is mainly determined by the scope: how many environments and assets are created, how custom the interactions are, whether there is simulation logic, how many languages, what reporting is needed and on which devices it must run. A short passive walkthrough and a full training simulator are both “VR applications”, but they are completely different products.
That’s why it’s worth asking for an estimate with a clear feature list and prioritizing must-have and nice-to-have features. A first release that solves the core problem can be launched earlier, tested with real users and expanded based on data rather than assumptions.
| CTA Already have an idea, brief or existing 3D material? Contact Fourthedesign to turn it into a specific VR scope and next step. |
Frequently Asked Questions
Do we need to buy a headset before the project starts?
Not necessarily. It’s better to choose hardware after defining the use case, space, graphics requirements, tracking and distribution method. This way the device serves the application and not the other way around.
Can a small trial version be made first?
Yes. A proof of concept or prototype is often the best way to confirm interaction, comfort and technical direction before committing the full budget.
Who provides the content of the application?
It is usually a collaboration. The client provides technical knowledge, material and experts, while the production team organizes the experience design, creates or adapts 3D assets and implements the software.

